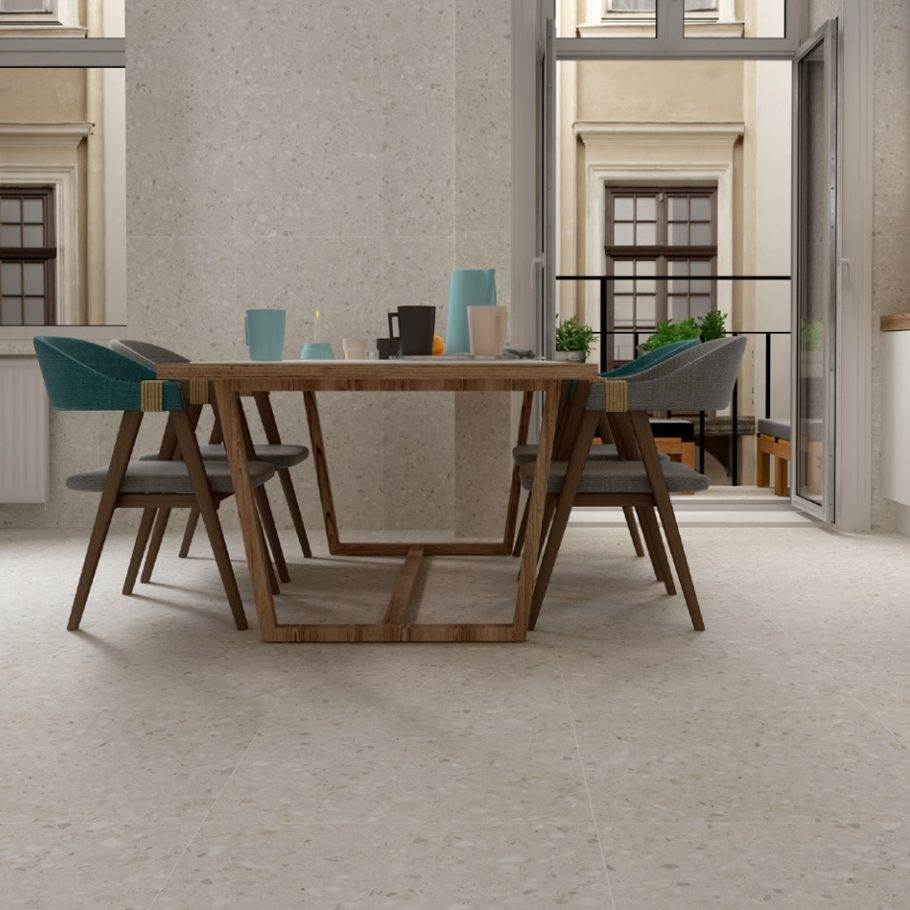
Tiling a kitchen is a fantastic way to enhance its aesthetic appeal and functionality. Whether you’re renovating or building from scratch, a well-tiled kitchen can provide a clean and durable surface for your cooking and food preparation areas. In this comprehensive guide, we’ll walk you through the step-by-step process of tiling your kitchen to help you achieve a professional finish.
Tools and Materials You’ll Need:
Before you begin, make sure you have the following tools and materials at your disposal:
Tools:
- Tape measure
- Chalk line
- Spirit level
- Tile cutter
- Notched trowel
- Spacers
- Tile adhesive
- Grout
- Sponge
- Buckets for water
- Safety glasses and gloves
- Materials:
- Tiles
- Primer (if required)
- Sealer (if required)
- Backer board (if required)
- Tile spacers
- Grout sealer
- Tile trim (if needed)
Step 1: Preparation
Measure your kitchen walls to determine how many kitchen tiles you’ll need. It’s a good idea to purchase extra tiles to account for breakages or future replacements.
Prepare the wall surface by ensuring it’s clean, dry, and free of any loose material. Depending on your wall type, you may need to apply a primer or sealer.
If you’re working on a particularly uneven surface or if you’re tiling around worktops and cabinets, you might need to install a backer board to create a flat, stable base for your tiles.
Step 2: Planning and Layout
Use a chalk line to mark a horizontal reference line on the wall. This line will guide the placement of your first row of tiles.
Plan the layout by dry-fitting tiles on the wall. This will help you determine the starting point and make any necessary cuts in advance.
Step 3: Applying Adhesive
Apply adhesive to the wall using a notched trowel. Spread it evenly, working in small sections.
Press the tiles into the adhesive, using the reference line and spacers to maintain consistent gaps between them.
Continue this process, working your way up the wall in rows. Be sure to periodically check for level and adjust as needed.
Step 4: Cutting and Trimming
As you reach the edges and corners, you’ll likely need to cut tiles to fit. Use a tile cutter or a wet saw for more precise cuts.
Install tile trim where necessary, such as at the edges of worktops or cabinets, to create a neat finish.
Step 5: Grouting
After the adhesive has dried (typically 24 hours), it’s time to grout. Mix the grout according to the manufacturer’s instructions.
Apply the grout using a grout float, pressing it into the gaps between the tiles.
Wipe away excess grout with a damp sponge. Let the grout dry for the recommended time.
Step 6: Sealing
If your tiles or grout require sealing, follow the manufacturer’s recommendations to protect and prolong the life of your kitchen tiles.
Step 7: Finishing Touches
Remove any spacers left between the tiles.
Clean the tiles and grout lines with a damp sponge to remove any remaining grout residue.
Stand back and admire your beautifully tiled kitchen!
Tiling your kitchen can be a rewarding DIY project, but it’s important to take your time, follow the manufacturer’s instructions, and ensure proper preparation and planning. A well-tiled kitchen not only adds value to your home but also provides a practical and attractive space for cooking and gathering.
How We Can Help?
Revamp your kitchen space with our exquisite collection of tiles available for purchase online. We understand that the kitchen is the epicentre of your home, and picking the right tiles to match your design preference can be daunting. But don’t worry, our store has a wide variety of options to cater to every style, from modern chic to rustic charm. With just a click of a button, you’ll have access to our vast range of tiles suitable for walls and floors, in different shapes, colours, sizes and textures. Whether you’re looking to create a visually stunning backsplash or upgrading the flooring, our online store has everything you need to achieve that dream kitchen. So why wait? Browse through our collection of tiles and invest in the perfect design for your kitchen today!
Get Tiles Online has a wide range of tiles and pavers in the Sydney area, made from only the highest quality materials. We are the cheapest tiles outlet. We have many different styles of large floor tiles, for many different styles of rooms including a concrete floor tiles, stone look tiles, timber tiles outdoor etc
